

You’ve got the inspiration folder. That developer setup with the ultrawide and the perfectly hidden cables. The IKEA countertop build with the floating shelf.
The gaming-by-night, work-by-day station with the LED wash on the wall behind it. You order the desk, the monitor arm, the drawers, and a cable tray.
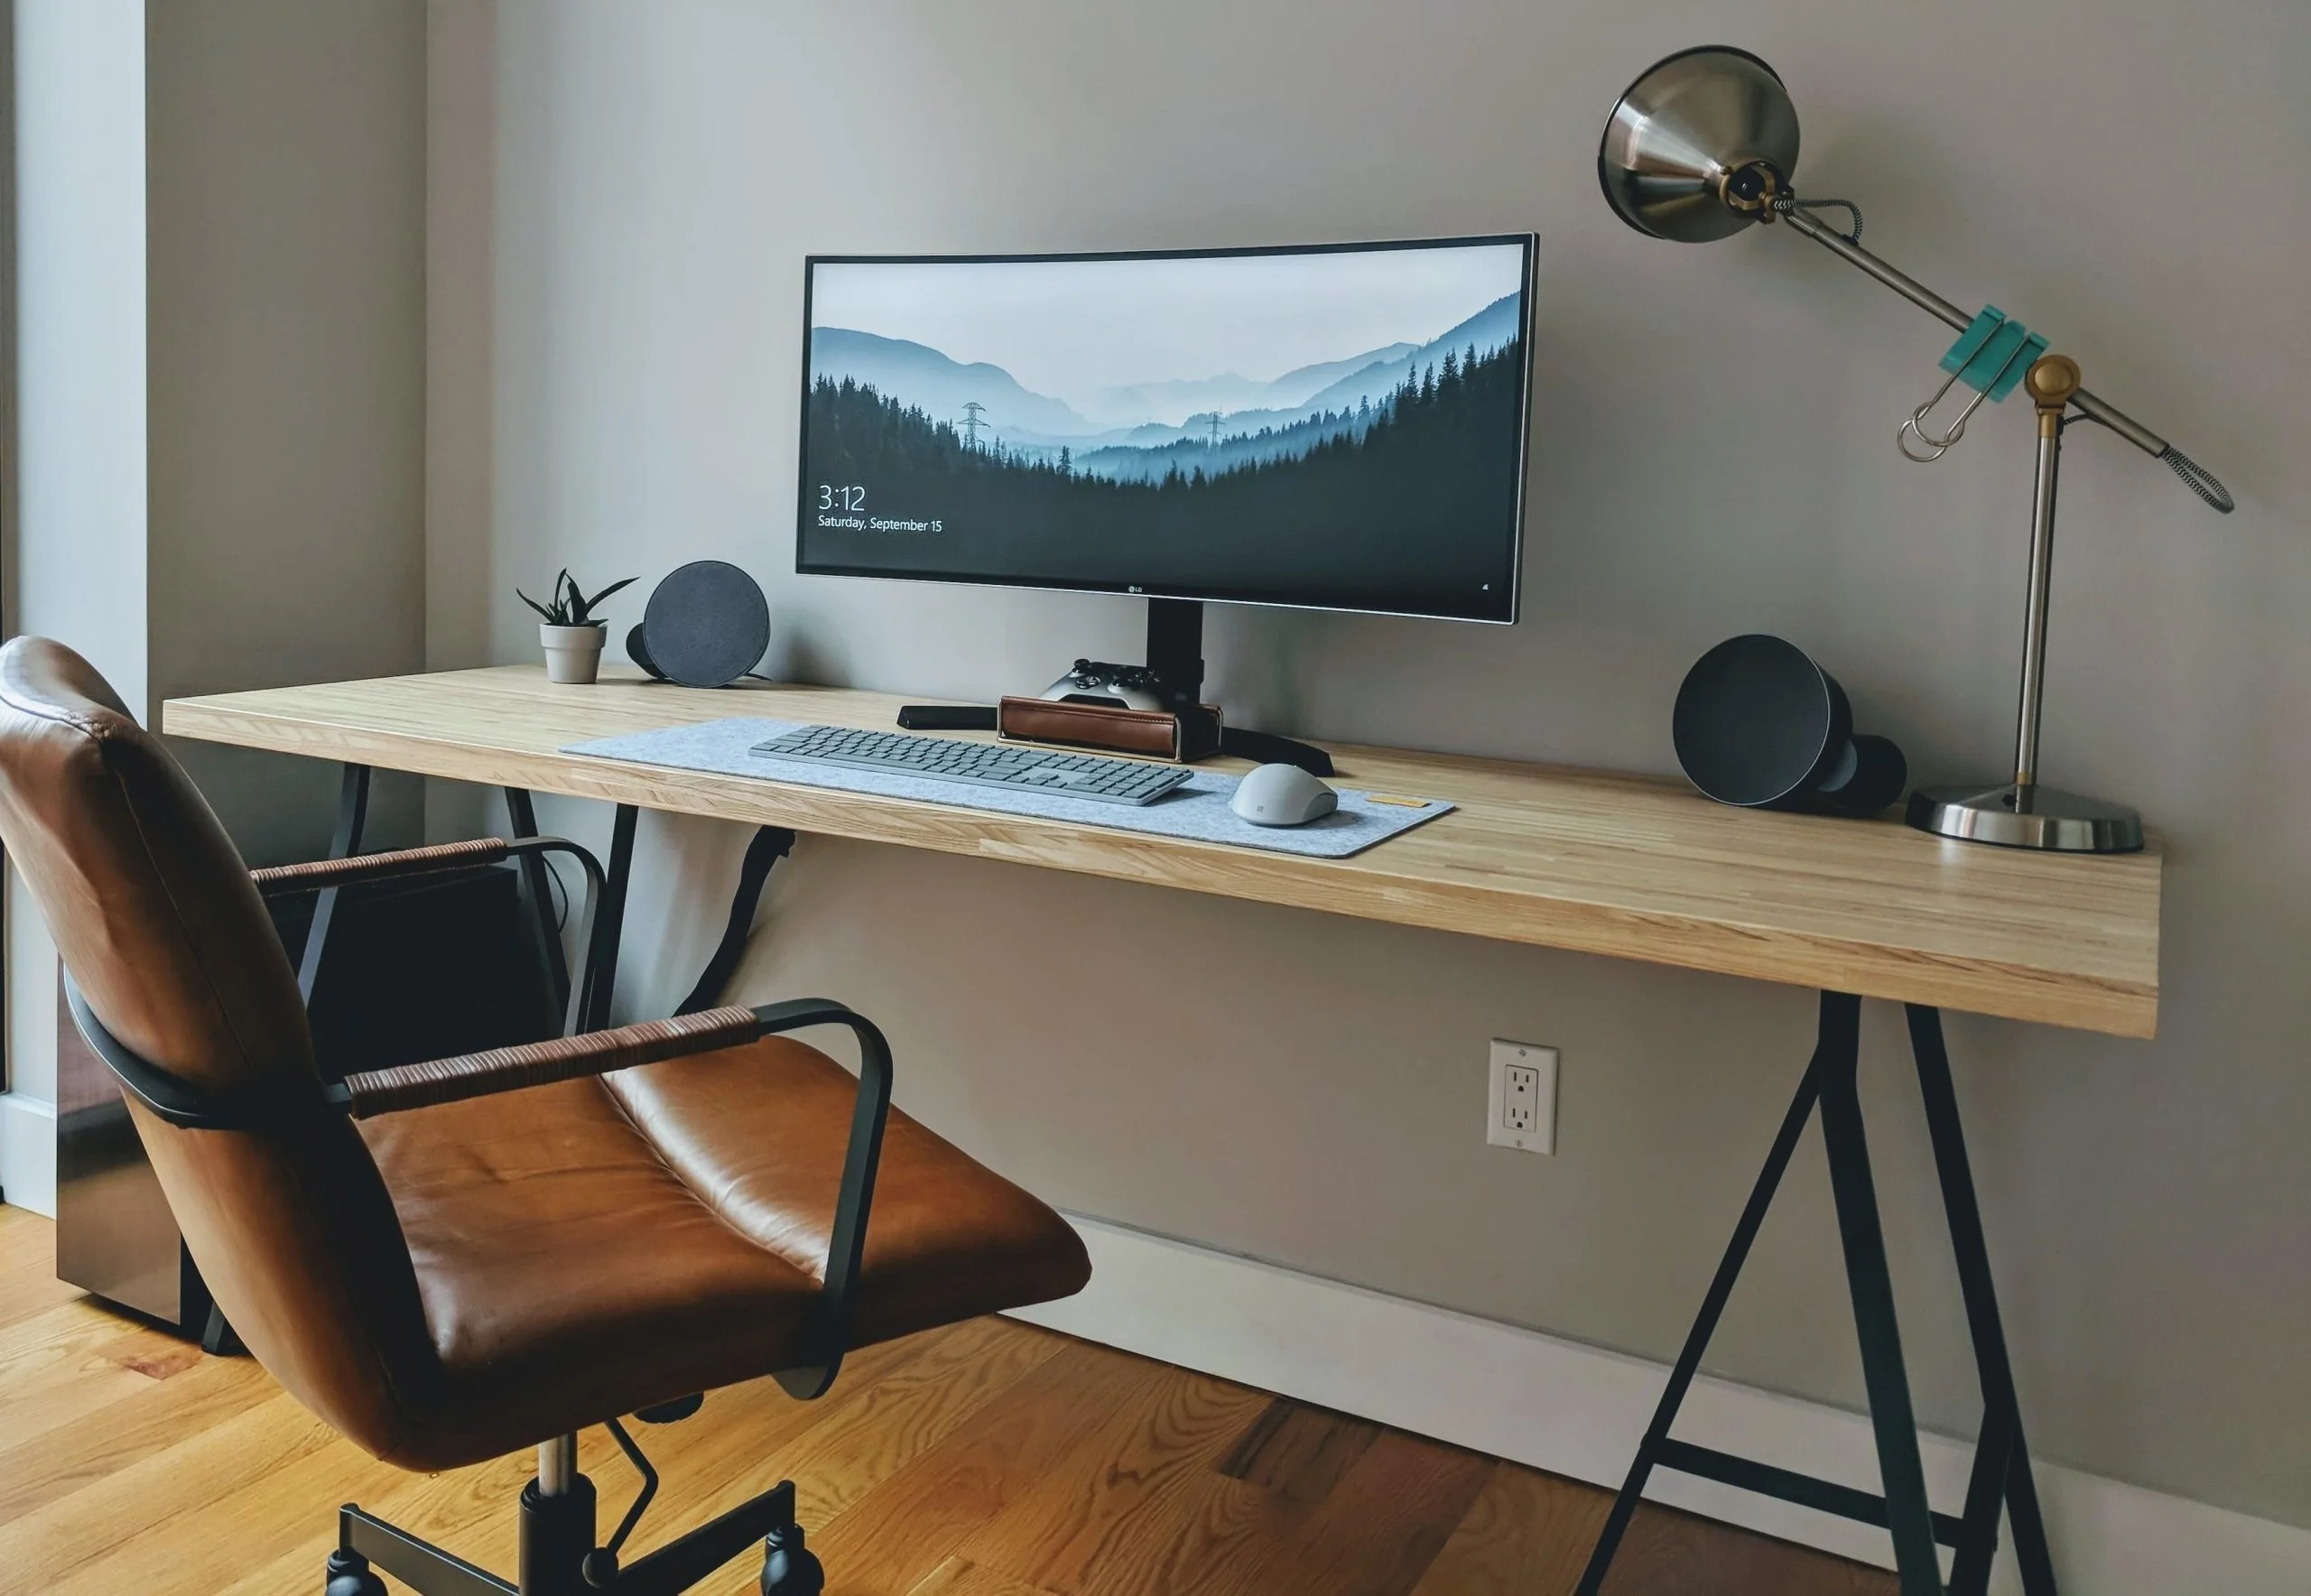
Then everything arrives, and the room fights back. The desk is deeper than you pictured and now the chair barely clears the bed. The only outlet is on the wrong wall. The window puts a hard reflection across the left monitor from 2pm onward.
The cable tray you bought won’t mount because the ALEX drawers are exactly where the brackets need to go.
A beautiful setup photo does not tell you where the outlets are. Which is the whole problem — inspiration shows you the result, never the constraints that produced it.
Why Desk Setups Are Harder to Plan Than They Look?
A desk setup is a system, and systems have dependencies. Room dimensions determine desk size. Desk depth determines viewing distance. Monitor size determines whether you need an arm or a stand. Chair clearance determines where storage can go. Outlet placement determines cable routing.
Window position determines glare. And every new device adds another cable, another charger, another thing that has to live somewhere.
Most of these only become obvious after you’ve bought something. For larger home-office redesigns, a visualization studio such as ArchiCGI can help turn floor plans, sketches, furniture references and material ideas into realistic images that make a planned workspace easier to review before anything is built or purchased. For a full room build or a custom desk, that’s worth considering.
For a smaller setup, even a rough scaled sketch does most of the same work — the point is planning the room before buying for it.
Start With the Room, Not the Desk
Almost everyone starts with the desk. It’s the fun decision. But the desk is the thing that has to fit everything else.
Map the room first. Where is the window, and which direction does it face? How much uninterrupted wall space do you actually have? Where are the outlets, and how many?
Does the door swing into the space you were planning to use? Is this room shared, and does someone else need to walk through it? What will be behind you on video calls?
Then be honest about use. A pure work setup, a work-and-gaming hybrid, a streaming station and a design workspace all want different things — different desk depths, different lighting, different storage, different backgrounds. Deciding this upfront prevents a setup that half-serves two purposes and fully serves neither.
Desk Size and Layout
The layout choice cascades into everything else, so it’s worth testing on paper before you order.
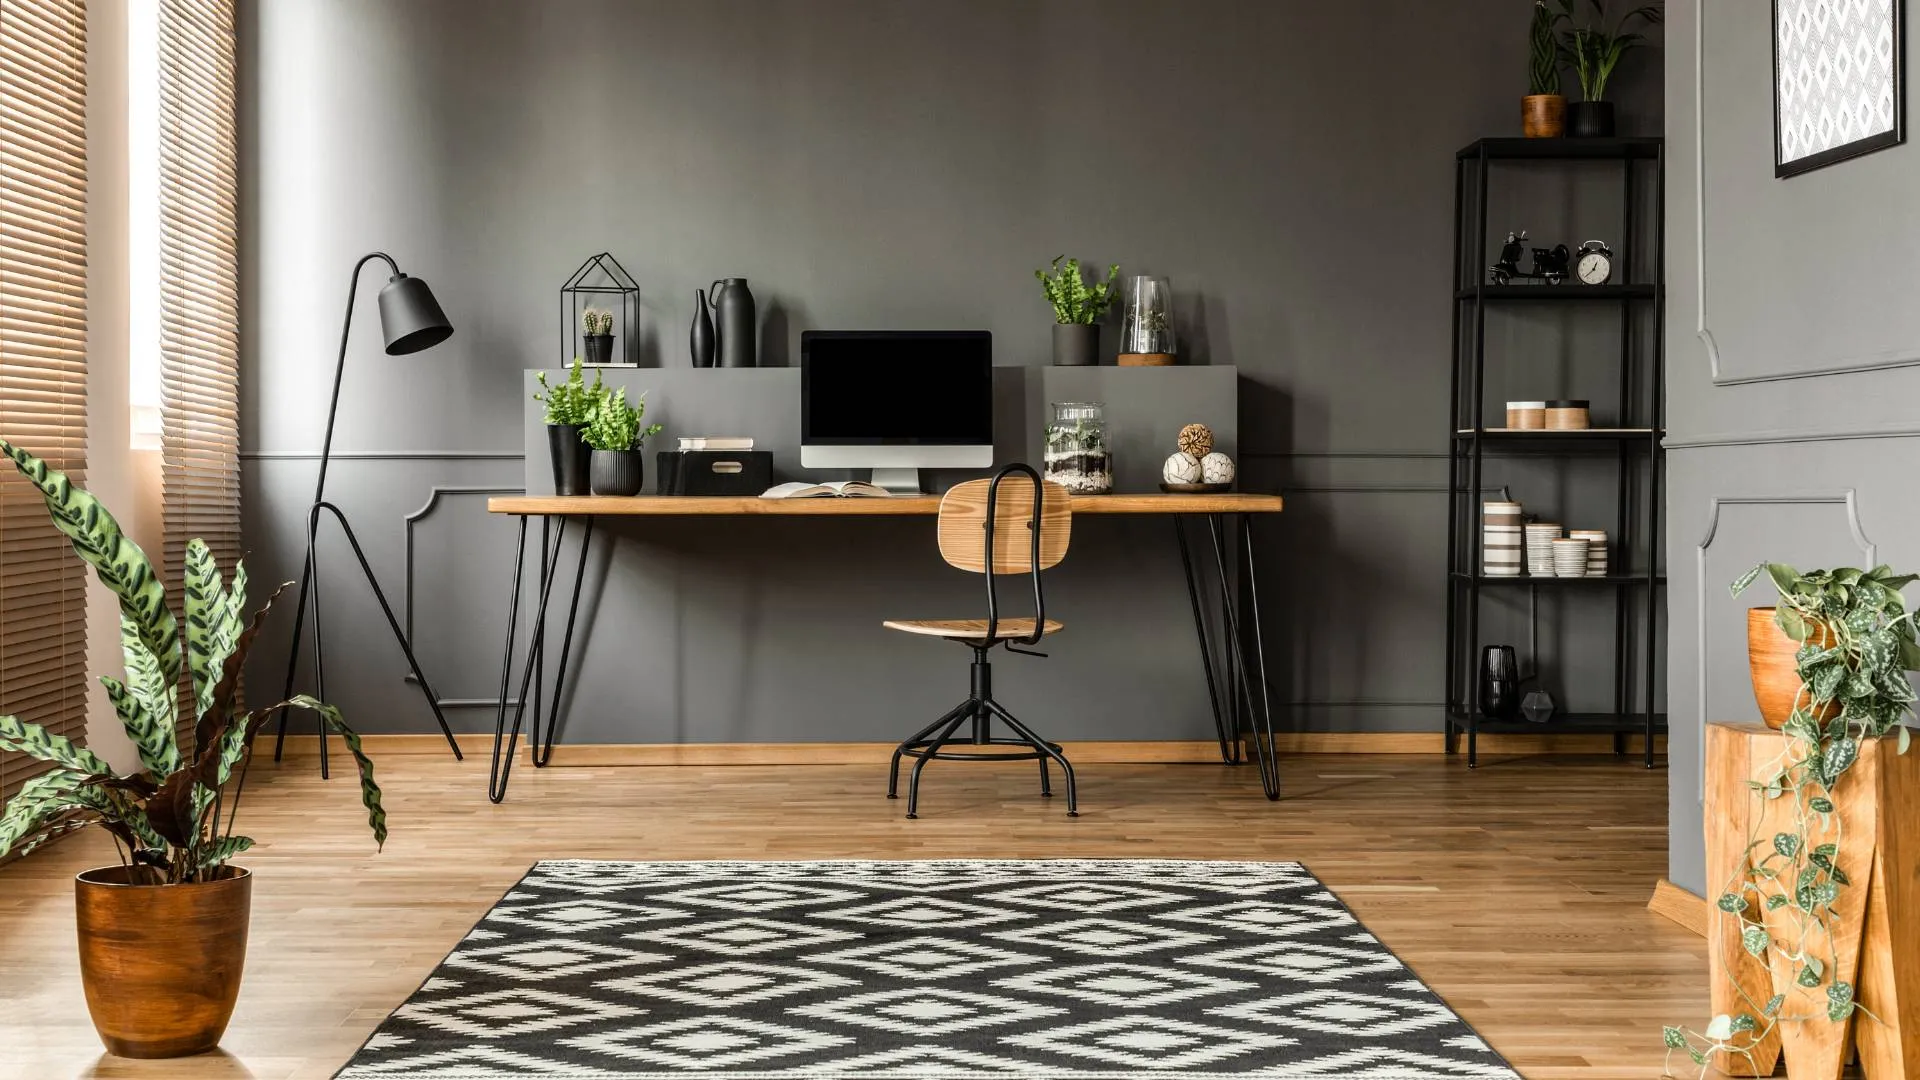
A straight desk against a wall is simple and predictable. An L-shape gives you a second zone — great for a PC tower, a second workflow or a laptop dock, and demanding of corner space. A standing desk adds height range and usually loses you under-desk storage options.
An IKEA countertop on drawer units gives you length and customization at a good price. A wall-mounted desk saves floor space in a small room. A dual-person desk needs careful thought about cable routing to two positions.
For small bedroom offices especially, measure the walking space you’ll actually have once the chair is pulled out. That’s the number people forget, and it’s the one you’ll feel every day.
Monitor and Laptop Placement
This is where ergonomics and layout collide. The variables: laptop plus external monitor, dual monitors, or a single ultrawide. Whether you’re using monitor arms or the included stands. Where a laptop stand and docking station sit.
Eye level relative to the top of the screen. Viewing distance, which depends entirely on desk depth. And where the light comes from.
A common miss: buying a 34-inch ultrawide for a 60cm-deep desk. Technically it fits. Practically you’re sitting too close, and you’ll spend a year with your chair pushed back further than the room allows. Test the numbers before the order — desk depth, screen size and seating distance need to agree.
Also plan the camera angle now. Where your webcam sits determines what’s behind you, and rearranging a whole setup because the background looks cluttered on calls is a frustrating way to spend a Sunday.
Cable Management Before the Mess Begins
A clean setup is often decided under the desk, not on top of it. Cable management fails when it’s an afterthought, because by then the drawers are installed, the power strip is behind something immovable, and everything is already plugged in.
Plan it as part of the layout. Where does the cable tray mount, and does it clash with drawers or the standing desk mechanism? Where does the power strip live, and can you reach it? Where’s the docking station or USB hub, and how do cables reach it from both the laptop and the peripherals?
What runs to the monitors, and can those cables be sleeved cleanly? Where’s the charging zone for phone, headphones and whatever else needs topping up daily?
Then leave headroom. The monitor arm, cable tray and drawers need to agree before anything is installed — and so does the device you’ll buy in eight months.
Lighting and Atmosphere
Lighting affects comfort more than almost any other element and gets planned last, if at all.
Start with daylight and glare. A monitor facing a window is a problem; a monitor with a window directly behind it is a worse one for video calls.
Then layer the artificial light: a task lamp that lights the desk without reflecting off the screen, ambient light so you’re not staring at a bright display in a dark room, LED strips or monitor backlighting if you want them, and something acceptable for face lighting on calls.
If the space doubles as a gaming setup in the evening, plan for both modes — the neutral, functional light you want at 10am and the lower, moodier setup you want at 10pm.
Storage, Shelves and Clutter Control
The desktop stays clean when everything else has a home. Think about drawers under the desk, a pegboard for tools and accessories, a desk shelf to lift monitors and hide small items, wall shelves, cable boxes, and where bulkier things like a printer or spare gear will live.
Plan your reach zone deliberately: the items you use hourly should be within arm’s reach, the daily items nearby, everything else stored away. Most cluttered desks aren’t a discipline problem — they’re a storage-planning problem.
Visualizing Custom Elements Before Building
If your plan includes anything built rather than bought, visualization earns its keep. Built-in desks, floating shelves, custom desk shelves, cabinetry, acoustic wall panels, a full pegboard wall, a studio backdrop, a maker bench, hidden cable channels, or recessed lighting.
These are expensive to get wrong because they’re not returnable. Seeing the proportions, the relationship to the window, the height of shelves relative to monitors, and how the whole wall reads together — before anyone cuts material — is the difference between a built-in that looks intentional and one that looks slightly off forever.
Mistakes Planning Catches Early
The recurring ones: a desk too deep or too shallow for the monitors. Screens too close. A cable tray that can’t mount because of the drawers. Window glare across a display. Shelves mounted too high to reach comfortably.
A chair that hits the storage unit when you lean back. A microphone arm swinging into monitor territory. A PC tower jammed in a spot with no airflow. A desk lamp casting shadows across the keyboard. A cluttered camera background. And no room left for the next device.
Visualizing the room first can save you from buying the wrong desk twice.
What to Prepare Before Planning a Workspace?
- Room dimensions and photos of the space
- Window and door positions
- Outlet locations and how many
- Desk dimensions you’re considering
- Monitor sizes and your laptop or PC setup
- Chair dimensions
- Storage requirements
- Lighting references
- A cable-management plan
- Style references and your full gear list
- Budget level
- Planned future upgrades
- What it’s for — personal planning, custom furniture, a renovation, a video-call background or a studio build
What Visualization Can’t Replace?
Being realistic: no amount of planning replaces ergonomic testing, actual chair comfort, real cable lengths, monitor calibration, acoustic testing, electrical safety, measuring twice before purchase, checking product availability, understanding your own workflow habits, or the small hands-on adjustments that only happen once everything is on the desk.
It helps you plan the room. The final setup still needs tuning in person.
A great workspace isn’t a good-looking desk photo. It’s a system that supports focus, comfort, cable control, lighting, storage and the way you actually work — and it holds up after the chargers, notebooks and daily clutter arrive.
The best setup is the one that still works six months in, and that’s much easier to build when you planned the room before you bought for it.
